Ole Juul
Veteran Member
It's a personal choice, but the AAAs have the advantage that if they ever fail, you can probably replace them on the spot.I can't see a place to stick 3 AAA. Maybe a single, tiny 6v photo lithium battery.
It's a personal choice, but the AAAs have the advantage that if they ever fail, you can probably replace them on the spot.I can't see a place to stick 3 AAA. Maybe a single, tiny 6v photo lithium battery.
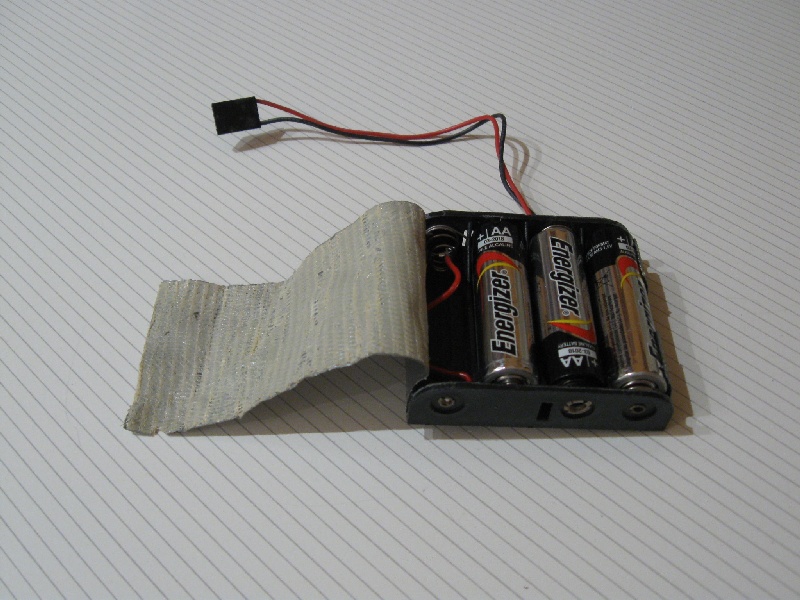
I take the battery holder, put a piece of double-stick foam tape on the back and slap it on the side of the power supply. Works great. If you're paranoid, you could put it in a plastic bag and hang it outside of the case.
Looks like a TH6887A, a DS1287 clone.What's the bluish block at the back of the motherboard labeled "9418"? I can't make out the other printing.
I didn't think you could use an external battery with an RTC chip containing its own battery, at least not without some mods...
Looks like a TH6887A, a DS1287 clone.
I just realized that the OP said "can't find a place". Perhaps he didn't catch the idea that those battery holders have wires and you can make them as long as you like. Indeed I've usually just dangled those holders outside on the back, for no particular reason than that it's easy and convenient.