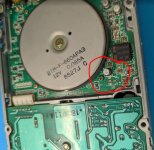
Thanks to markgm generously sharing his designs, I was able to get my two P70s fixed.

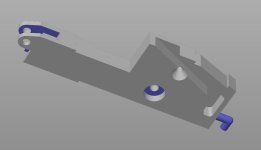
I printed the hinges on my Prusa MK3S+ using Prusament PLA, and they seem very very sturdy. For those doing this at home: Infill doesn't matter, as the main stress as far as I can tell is at the top of the hinges, where the walls are so thin that they're solid either way. The model only required little supports. For reference, this is the face I lay the piece on (looking at the bottom side), and where I added supports (blue surfaces):
Getting the old hinges disassembled is a pain, as it requires removing the old metal nuts IBM used. I didn't have the tools to drill them out, but managed to eat enough of them away with a dremel cutting disc that they could be pulled out with some force. This was not a museum-quality restoration, as this was the first time that I ever used a dremel... but it worked!
For the center axle, I happened to have some leftover IKEA screws lying around that had a good diameter thread, just thick enough to eat into the plastic a bit, and nice, nearly flush heads. The heads didn't have any slits for a screwdriver, so I screwed them in with pliers (see the bite marks?).
The top nut I replaced with M3x16 screws and M3 washers. M3x10 would likely have worked too, and looked a bit neater, but longer than 16 would cause problems.
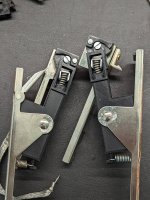
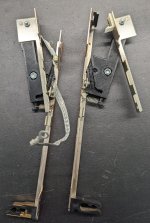
One of the machines also had the retaining latch of the right display hinge snap in half, so the screen would no longer stay closed. Luckily, that was a simple enough part that I could quickly throw together
a replacement in TinkerCAD, which I've also
shared on Printables.
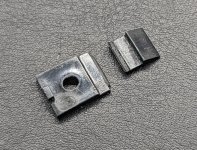
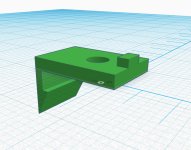
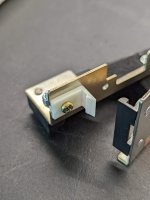
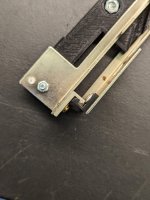
And with that, the screen is back to its full former glory!
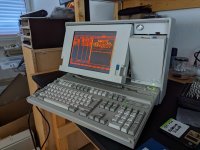
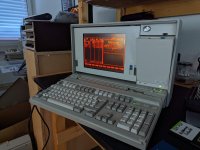
Video proof:
https://photos.app.goo.gl/cjndrBFtffDmpDRV9
And if you want to see even more pictures, you can see all of them in this album:
https://photos.app.goo.gl/fip5FddQ2zu4jv9g6
In one of the machines, the display doesn't actually stay fully extended, but slowly slides back to about 40% level. In that one, I only fixed the right hinge as the left one was still intact, and I managed to bend the right metal part a bit. It was the one I worked on first, I became more careful on the other ones.
 Again: Thanks a lot for your help and for sharing the hinge files, markgm!
 I don't think I'd have had the nerves to start making my own models and taking a dremel to the machine if I hadn't had your work to start on.

And it turned out to be a fun and rewarding journey!
For future reference, these are the links to the display latch thingy I made:
TinkerCAD (raw model),
Printables (for 3D printing yourself)
Cheers
mikerofone

