• Please review our updated Terms and Rules here

My "new" Macintosh II

AdamAnt316

Experienced Member
Joined
May 23, 2016
Messages
230
Location
Massachusetts
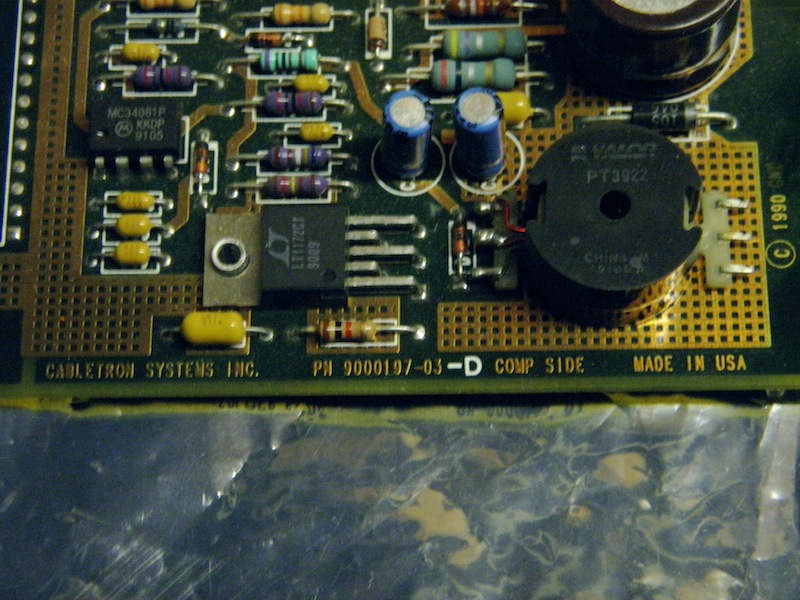
Hello everyone. While wandering the MIT Swapfest this past weekend, I stumbled upon someone selling a Macintosh II. For some reason, I haven't seen much Mac II hardware at these shows, mostly either iMac-era stuff, or compact Macs. I got the Mac II, plus three ADB keyboards, for all of $20! :mrgreen: A nearby seller had an assortment of Mac parts, and I ended up buying a "Cabletron Systems" NUBUS ethernet card of some sort from him for $2; hopefully, it can be made to work. Anyway, here are some pictures:

macii_1.jpg

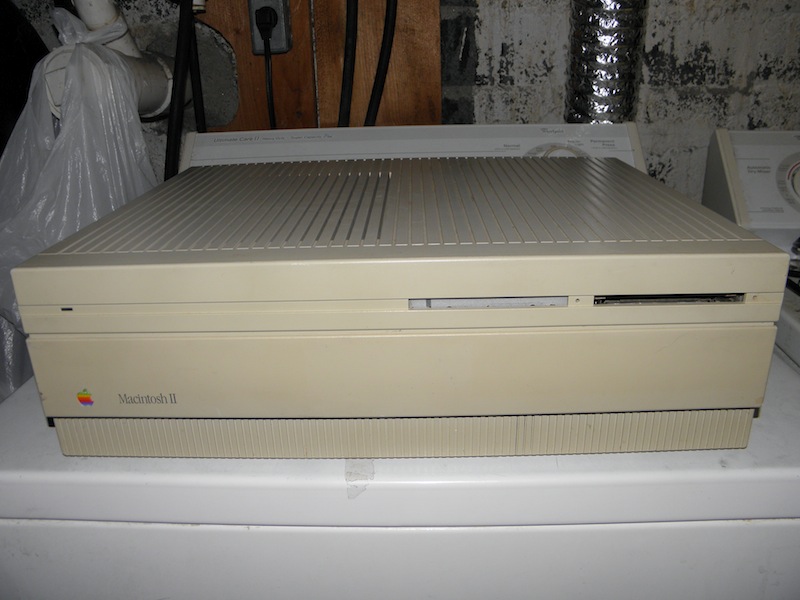
Front view. There are some chips around the sides of the top cover, and I had to re-bend the shield inside of it, but it seems to be in fairly good cosmetic shape overall.

macii_2.jpg

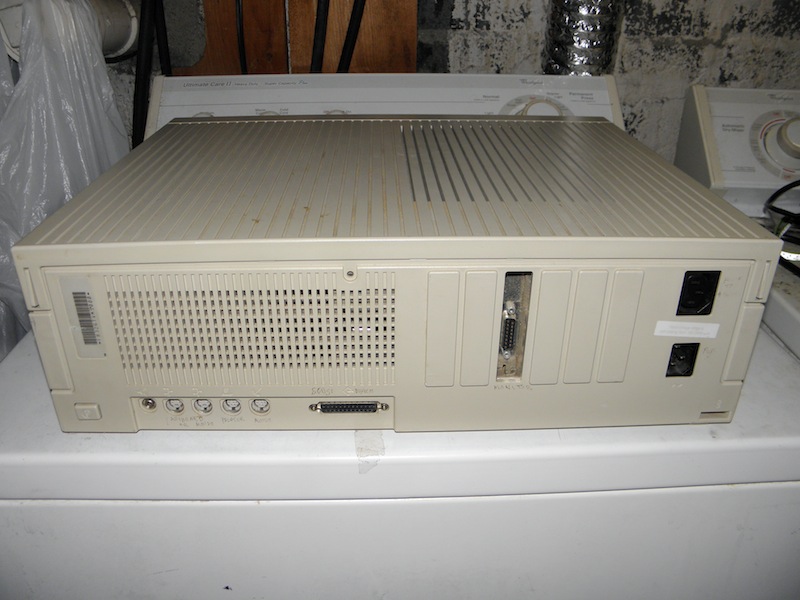
Back view. Only card installed is a video card of some sort. Someone wrote little labels near all of the ports on the back.

macii_3.jpg

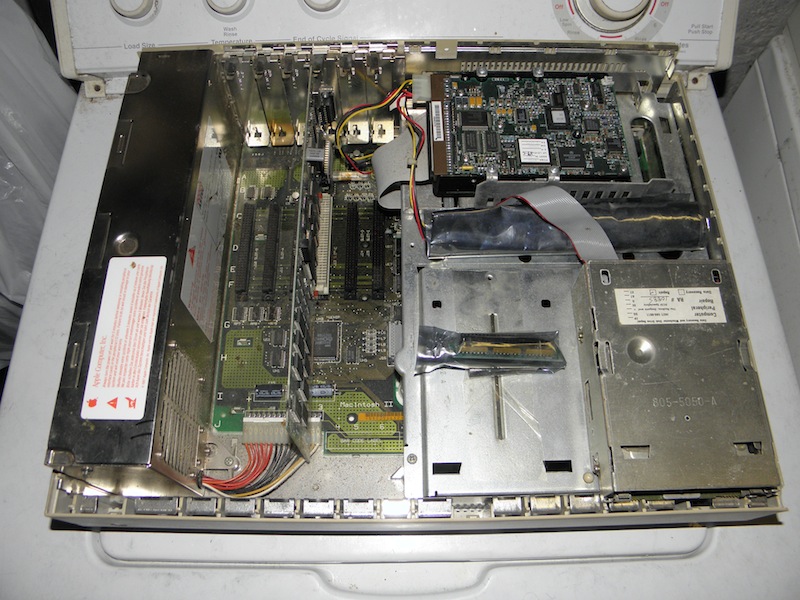
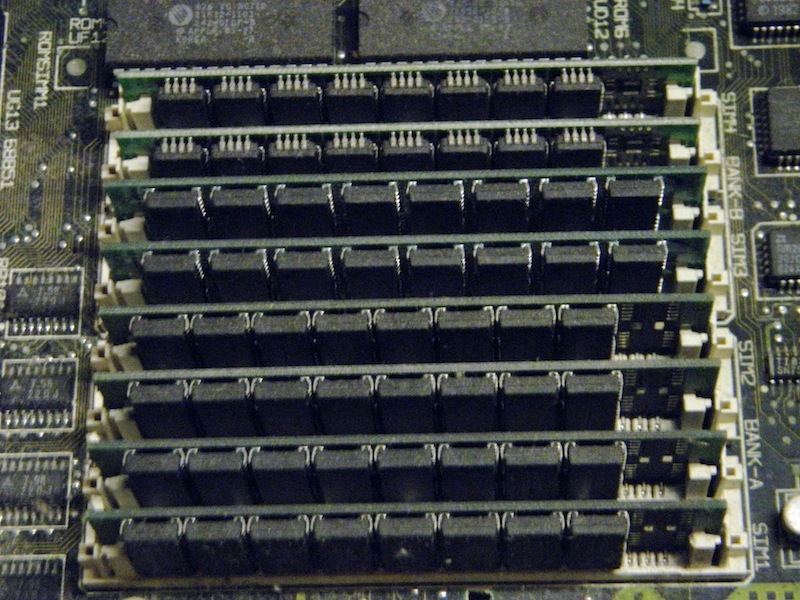
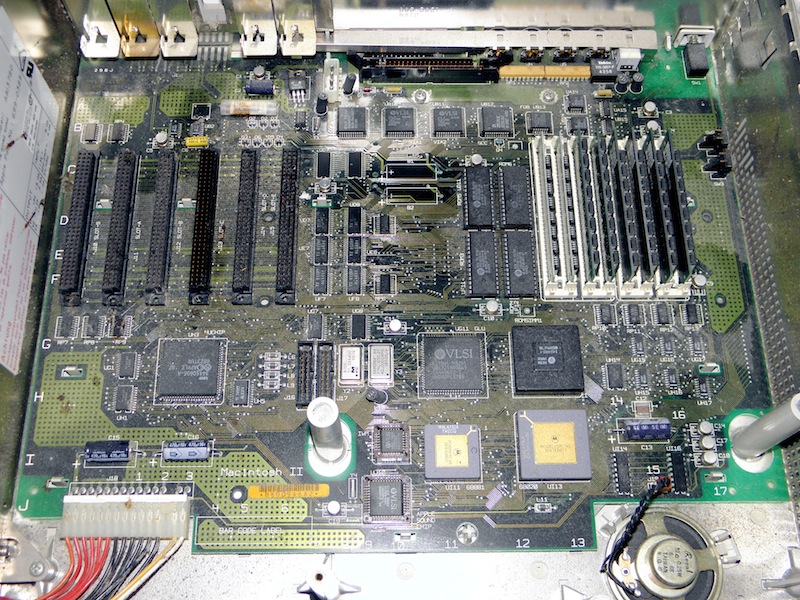
Inside view. Not sure about the size of the hard drive, but it doesn't appear to be the original (dated 1990). All RAM slots are filled with SIMMs of unknown size. The little anti-static baggie near the front has what looks like a terminator of some sort inside it; the larger one near the HD is empty, just rolled up next to it for some reason.

macii_4.jpg

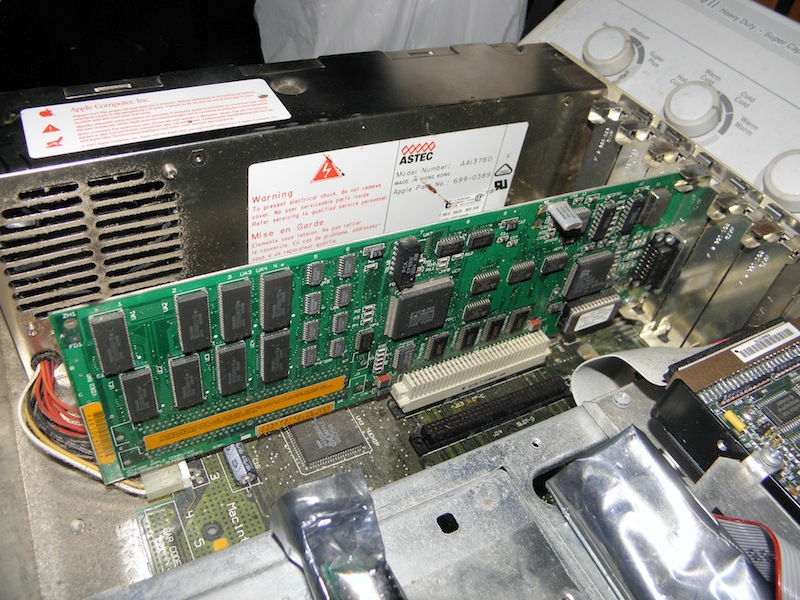
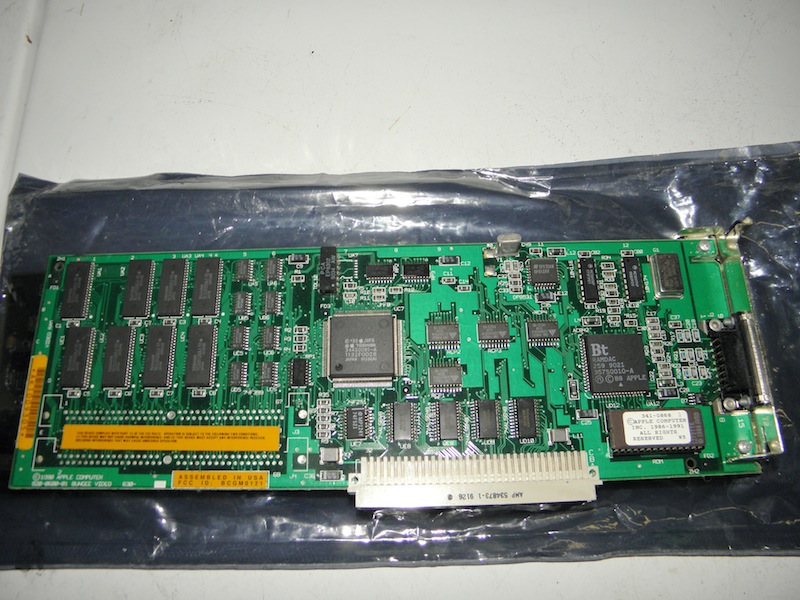
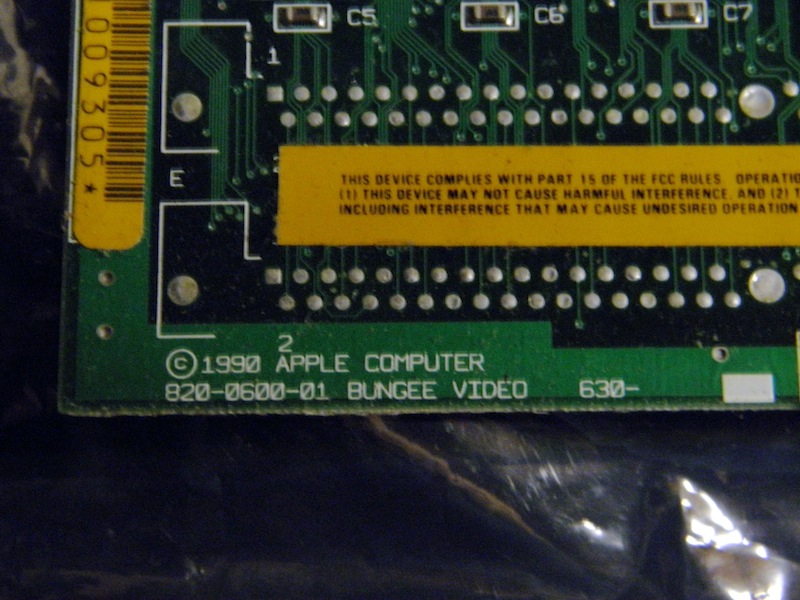
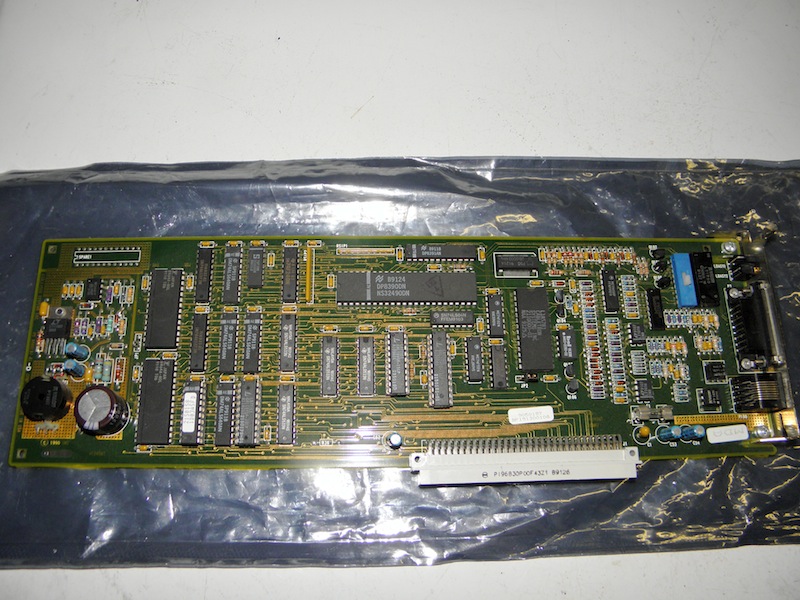
The installed video card. Not sure which one it is.

macii_5.jpg

The PRAM batteries. Not sure why they used two. Also not sure why they soldered them in. :mad: I'll have to replace them with 1/2-AA holders at some point.

macii_6.jpg

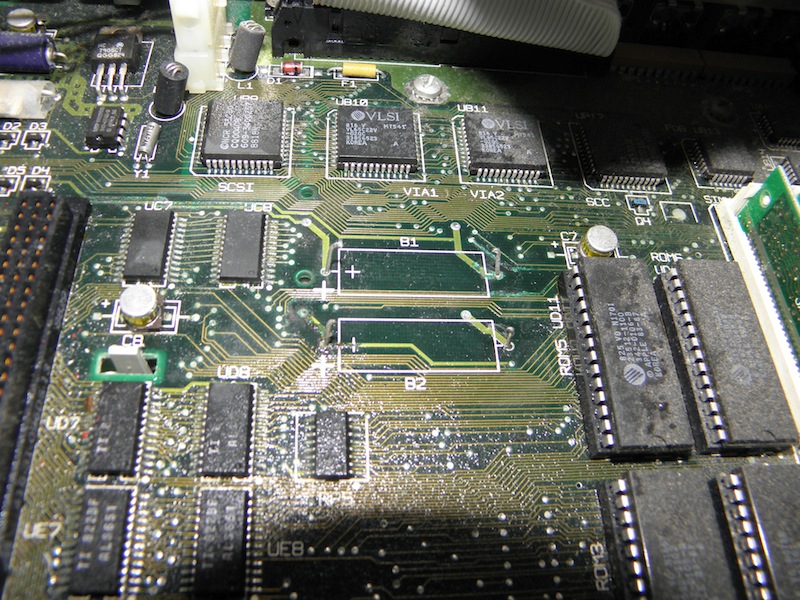
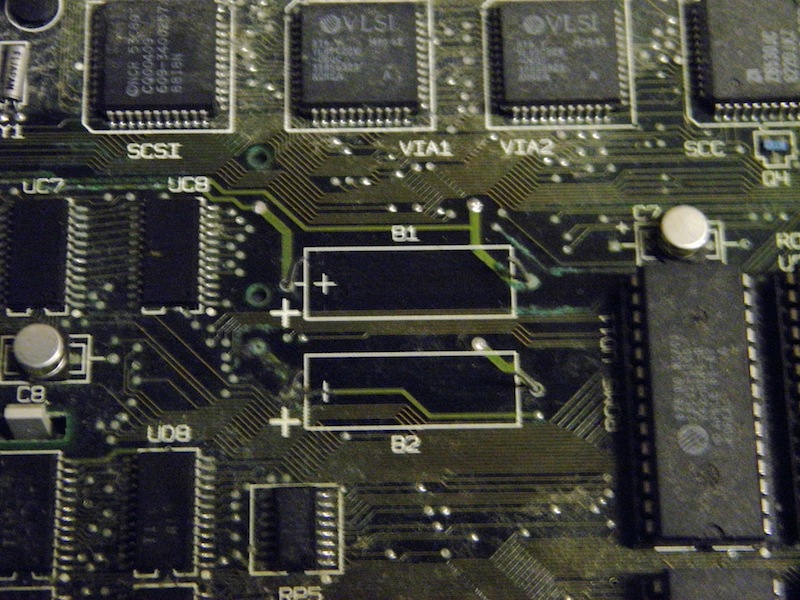
What the board looked like after I clipped them out. Not a large amount of corrosion, but definitely some along nearby traces. Hopefully, it's fixable.

macii_7.jpg

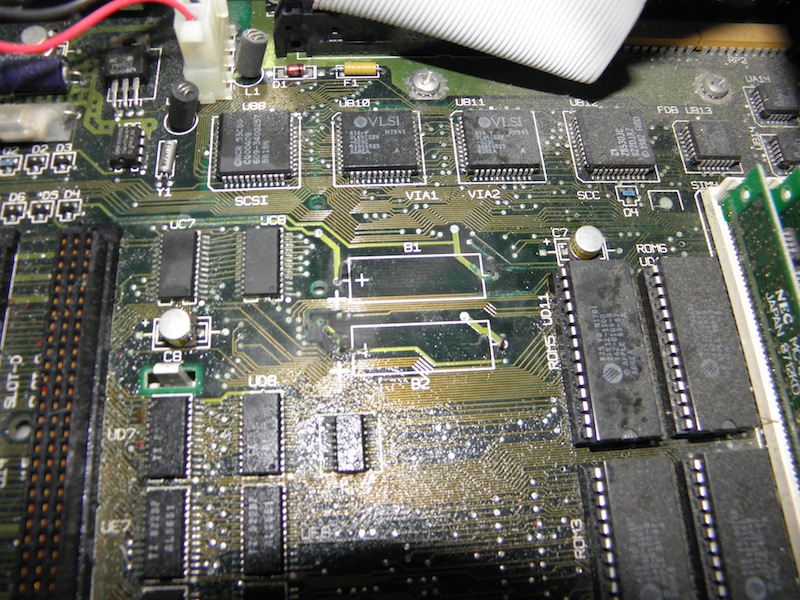
What the board looked like after I sprayed the corroded area with a mix of vinegar and water, and cleaned off what I could with Q-tips. Not sure if it did much good, but who knows.

So where shall I go from here? I haven't tried to power it up, since I've heard that these won't boot without at least one PRAM battery. What would be my best option on jumpering something in for testing purposes? Is there anything else I should do before firing it up, hopefully not literally? Thanks in advance!
-Adam
 
Thanks for the replies!
Thanks for the video! I tried the jump start trick, as mentioned in the video. Good news: the green light came on, and the power supply started up! Bad news: No sound from the speaker whatsoever. :( Granted, I didn't have any drives hooked up to the system, but I should've gotten some sound from the speaker, like the sad mac chime. Not sure what's going on there, at least without a monitor connected.

Congratulations you finally got a real Mac!

Pull that card and take photos. It's not the base card the II came with, I don't think.
Thanks! :D I have no idea why the Mac II series seem to be uncommon in my area compared to other Macs. The only other 'beige era' Mac I saw at the show was a Quadra 950 which wasn't for sale. I have owned a Mac II-series model before, namely a IIvx (and its budget-minded counterpart, the Performa 600) but neither one worked at all, and both were Road Apples, so I don't really count them. :roll:

Anyway, here are some more pictures:

macii_8.jpg

Another shot of the battery corrosion, taken after I removed the drive tray entirely. Not sure if it shows much more than the other pics, but there it is.

macii_9.jpg

The RAM slots. The second two SIMMs look different than the first two, or the last four. Not sure what's up with that.

macii_10.jpg

Full view of the logic board. Probably should've cleaned the dust off first... :rolleyes:

macii_11.jpg

The video card it came with.

macii_12.jpg

Close-up of the markings. Apple branded, but dated 1990.

macii_13.jpg

For good measure, here's the Cabletron ethernet card I mentioned above.

macii_14.jpg

Close-up of its markings.
 
Nice find, probably needs SMT capacitors replaced and maybe a few traces fixed.

There is a board that you can buy to use dual removable batteries instead of the soldered in ones (check the 68kmla forum).
 
Man that is an absolutely stock Macintosh II.
Well, I'm pretty sure at least some of its internal components have been replaced at one time or another (video card and hard drive both bear 1990 dates, though most of the ICs are from '86 or '87) and the floppy drive has a sticker from "Computer Peripheral Repair", so it's been worked on at one time or another. Also, I've now installed that Cabletron ethernet card into one of the NUBUS slots, though that may be jumping the gun a bit. :roll:
Nice find, probably needs SMT capacitors replaced and maybe a few traces fixed.

There is a board that you can buy to use dual removable batteries instead of the soldered in ones (check the 68kmla forum).
What would be the best way to repair the traces? I haven't done much (if any) trace repair on a computer like this. Hoping the battery corrosion has only affected the top layer of traces; these multi-layer boards tend to make me worry.......... :?

Good to know about the battery board, thanks. I have a couple of PC board-mount 1/2-AA battery holders which I might use, but I'll look into that board. Would like to make sure that the unit works to any appreciable degree before I perform any major work on it.
-Adam
 
Basically, http://lowendmac.com/1990/macintosh-display-card-8-24/ except the SIMM sockets were omitted and the top bank of RAM was soldered in place. Very common during the RAM shortage to prevent pilferage. Equivalent to a PC SVGA card with a few Mac specific modes.

That does indeed appear to be the case. I checked this article, and the part number printed on the sticker atop the ROM corresponds to Rev. B of the 8•24 Graphics Card. A forum post I found refers to the standard 8•24 as being "dog slow", which probably doesn't bode well, but it's (hopefully) better than what it might've come with in 1987.

Continuing on with NuBus cards, is anyone here familiar with the Cabletron ethernet card I posted pictures of above? What would be involved with getting it working? I know I'm probably getting ahead of myself here, but am interested with what it'd require.
-Adam
 
macii_9.jpg

The RAM slots. The second two SIMMs look different than the first two, or the last four. Not sure what's up with that.

They're parity modules, a precursor to ECC memory.

Parity memory modules have extra bits (hence the 9th RAM chip) in order to detect memory errors. 30 pin parity SIMMs are 9 bits wide instead of the usual 8 bits, with the extra being used in a calculation done by the memory controller to determine if incorrect data was sent over the bus. Parity checks aren't that useful, and can be a source of headaches because parity checks can only tell you an error happened, not precisely where it happened. It can also only detect single bit errors and can't correct the error on the fly like later ECC memory can. When parity checks are enabled on a PC and a parity error is encountered, you'll usually get the useless "Parity error, system halted." message and the computer won't boot.

I'm pretty sure the Mac II doesn't support parity checking, so the parity modules are just running like normal memory modules.

What would be the best way to repair the traces? I haven't done much (if any) trace repair on a computer like this. Hoping the battery corrosion has only affected the top layer of traces; these multi-layer boards tend to make me worry.......... :?-Adam

Scrape off the conformal coating on the traces with a small flat razor so any battery goo can't get stuck between the coating and the trace and cause continual damage. Once you scrape the coating off the traces, I'd recommend a rust inhibitor solution like Krud Kutter on a cuetip and rub it on the trace until it becomes a uniform copper color again. I would not recommend using vinegar because it is just as bad as battery goo, except it's an acid instead of a base. It will eat away the traces rather than combine with them to form something like copper sulfate or copper carbonate (the green corrosion on the traces.)

If you find that the trace looks bad after you clean it, strip a long section of stranded copper wire and solder a few strands out of the bunch to one end of the exposed trace and route it along the length of damaged trace, cut it to length and solder as much as you can to the trace. If solder doesn't stick to the trace, try lightly sanding it with fine sand paper.

After you're done, you can apply conformal coating to the area. If you can't get or find any, clear nail polish works.
 
If solder doesn't stick to the trace, try lightly sanding it with fine sand paper.

I think the finest you can find at walmart is 2000. Auto parts stores may stock finer stuff. But Testor's makes a pack of extremely fine sandpaper sheets. Craft or hobby stores have it. You can also just use some flux to clean the copper.
 
Back
Top