What kind of module is it? Dallas?
- Alex
- Alex
| VCF West | Aug 01 - 02 2025, | CHM, Mountain View, CA |
| VCF Midwest | Sep 13 - 14 2025, | Schaumburg, IL |
| VCF Montreal | Jan 24 - 25, 2026, | RMC Saint Jean, Montreal, Canada |
| VCF SoCal | Feb 14 - 15, 2026, | Hotel Fera, Orange CA |
| VCF Southwest | June, 2025 | University of Texas at Dallas |
| VCF Southeast | June, 2025 | Atlanta, GA |

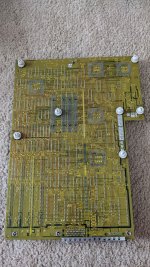
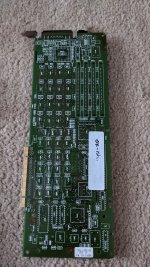

MK48T02What kind of module is it? Dallas?
- Alex
Congrats!!!
Yes, I think I will FINALLY be getting the PC board standoffs tomorrow so I can start working on putting this franken-power supply into a SUN sized box. That will allow me to button up the box and have a funny running unit.Congrats!!!
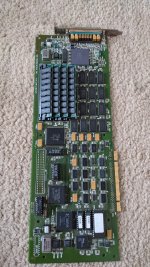
Really? Interesting, anything you can tell me about why the CPU will only use Intel 386's and not the Cyrix chips? I have a Cyrix 386/50 and it just does nothing in the box which doesn't make a whole lot of sense.Side note: I worked in the 386i development group way back when for a brief period. Before we had actual 386i hardware, we used Compaq 386 PCs with a graphics card on them for development.


