I am trying to troubleshoot this keyboard as a significant number of the keys do not work. I first suspected the keyboard was dirty so I separated the key assembly from the circuit board and visually inspected / cleaned the contacts with isopropyl alcohol and reassembled. That did not solve the problem. This led me to suspect the keyboard decoder board which I swapped with a known working one. That did not solve the problem either. Now I am back to suspecting the keys / keyboard contact circuit board.
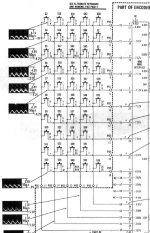
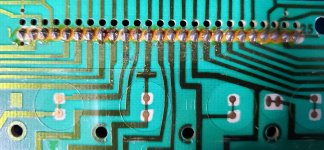
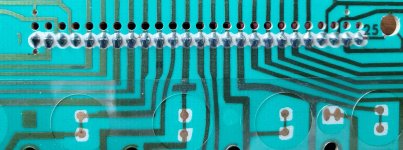
A review of the Apple II Reference manual provides a matrix which shows the x, y connections for the keys and how they map back to the keyboard decoder chip. I would like to use an OHM meter to test the continuity for each of the keys by utilizing these x, y mappings. However I cannot easily do so from the keyboard decoder chip so I thought the best place would be the connector which connects the keyboard key circuit board with the decoder circuit board. However there is no pinout of this connector in the reference manual and my, admittedly, limited testing does reveal a complete mapping for each x, y line. This seems odd to me as the reference manual diagram clearly shows the mappings back to the keyboard decoder chip so it seems reasonable all of them have to go through this connector.
My attempt to map the connector was to play one end of the meter on the first pin of the connector and then test each of the pins on the keyboard decoder chip until I heard a continuity chime (i.e. a closed circuit). Once I had the pin on the keyboard decoder chip I would use the reference manual diagram to record the x or y line to the connector pin I was currently testing. I then repeated this process for all the pins on the connector. When I was finished I had mapped six of the y lines and one of the x lines to the connector. According to the reference manual the x lines have nine connections to the keyboard decoder chip and the y lines have 10.
Does anyone see anything obviously wrong in the above methodology? Any advice on how to troubleshoot this?


